How to Write a Real Estate Listing Description That Sells
Photos earn the click. The description earns the showing. Once a buyer stops scrolling and opens your listing, the words are what turn “nice house” into “I can see us living there.” Yet most descriptions are written in five minutes, stuffed with the same tired phrases, and forgotten.
This guide gives you a simple structure you can reuse on every listing, the words that quietly hurt you, the fair housing basics to keep in mind, and three before-and-after rewrites you can borrow from.

Start With the Facts, Not the Adjectives
Before you write a single sentence, collect the details. Strong descriptions are built from specifics, and it's much easier to write well when the raw material is in front of you.
- The basics: bedrooms, bathrooms, square footage, lot size, year built, parking.
- What's new: recent renovations, roof, HVAC, windows, appliances, and roughly when they were done.
- Materials and brands: quartz or granite, hardwood or LVP, named appliance brands, built-ins.
- The standout feature: the one thing buyers will remember after ten other showings.
- The surroundings: nearby parks, transit, commute times, school district, shops and restaurants.
- Practical details: HOA fees and what they cover, utilities included, move-in date for rentals.
Ask the seller what they'll miss most about the home. The answer (“coffee on the back porch watching the sunrise”) is often your best opening line.
A Simple Structure That Works Every Time
You don't need to reinvent the wheel for each listing. This five-part structure keeps descriptions tight and readable.
1. Lead with your best feature
Your first sentence shows up in search previews and on mobile cards, often cut off after a line or two. Don't spend it on “Welcome home!” or the bedroom count, which buyers already see in the listing details. Open with the thing that makes this home different: the view, the renovated kitchen, the oversized lot.
2. Walk them through the home
Describe the home in the order a buyer would experience it: arrival, main living areas, kitchen, bedrooms, outdoor space. This creates a mental tour and makes the photos easier to follow. Two or three sentences is plenty.
3. Sell the lifestyle and location
Connect features to everyday life. A fenced yard is a fact; a fenced yard with room for a garden is a picture. Then zoom out to the neighborhood with specific, verifiable details: named parks, real commute times, nearby amenities.
4. Cover the practical facts
Upgrades with dates, HOA details, parking, storage, and anything a serious buyer will ask about. Handling it here saves you a round of questions and signals that the listing is well prepared.
5. End with a clear next step
Close with one specific invitation: book a showing, join the open house on Saturday, or request the disclosure package. One clear ask beats three vague ones.
Words and Habits That Quietly Hurt Your Listing
Buyers read hundreds of listings. These patterns blur together, or worse, signal the opposite of what you intend.
Before and After: Three Rewrites
Here's what that structure looks like in practice. The “before” versions are typical of what you'll find on any listing site. The “after” versions use the same home, just described with specifics.
Stay on the Right Side of Fair Housing Rules
Under the Fair Housing Act, listing language shouldn't suggest a preference for, or against, buyers or renters based on race, color, religion, sex, disability, familial status, or national origin, and many states and cities protect additional groups. The simplest rule: describe the property, not the person you imagine living there.
- Instead of “perfect for young families,” write “three bedrooms and a fenced backyard.”
- Instead of “ideal for a bachelor,” write “low-maintenance one-bedroom near nightlife.”
- Instead of naming a religious or ethnic community, name specific, neutral landmarks.
Rules vary by state and MLS, so check your local guidelines and your brokerage's policy. When in doubt, describe features and leave out the audience.
Make the Words and Photos Tell the Same Story
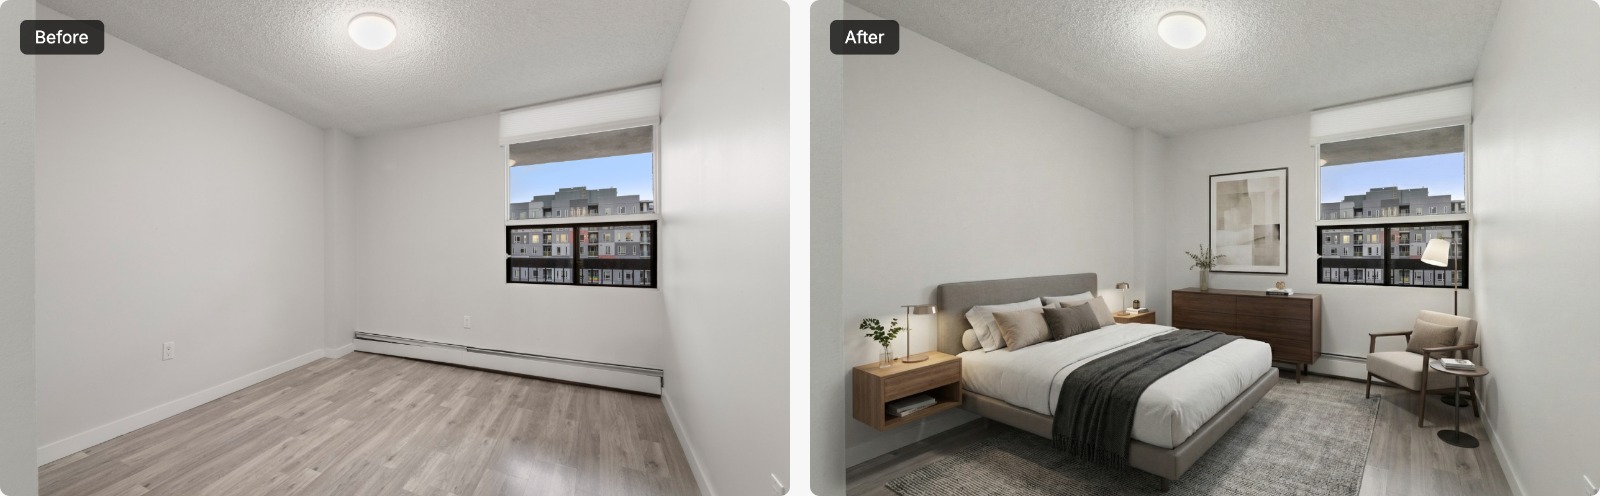
The most common disconnect in listings is a warm, inviting description sitting next to photos of cold, empty rooms. If your copy talks about a “spacious living room perfect for entertaining,” buyers should be able to see that in the photo.
That's where virtual staging helps: furnished photos show scale and purpose, so your description and images reinforce each other instead of competing. If you use staged photos, say so clearly in the listing. It builds trust and is required by many MLSs. Our guide on virtual staging disclosure rules covers the details.
A Quick Checklist Before You Publish
- Does the first sentence name the home's best feature?
- Have you replaced every vague adjective with a specific detail?
- Are recent upgrades listed with approximate dates?
- Have you named real places instead of “great location”?
- Does any phrase describe a type of buyer rather than the property?
- Is everything accurate and verifiable, including square footage?
- Do the photos show what the description promises?
- Does it end with one clear next step?
- Have you read it aloud once? Awkward sentences jump out when spoken.
Write Your First Draft in Seconds
Staring at a blank box is the hardest part. Our free real estate description generator turns your notes into a polished first draft in a few seconds. Pick a tone and length, then edit it with the checklist above. It's free to use, no sign-up required.
A great listing description won't sell a home on its own, but paired with photos that show the space at its best, it gives buyers every reason to book the showing.