How to Virtually Stage a Room with AI: Step-by-Step Guide
Virtually staging a room used to mean emailing a designer and waiting days. With AI, it takes about two minutes from upload to download. This guide walks through every step with real screenshots, plus the instructions, checks, and fixes that make the difference between a staged photo that looks fake and one that looks like a real, furnished home.
Step 1: Choose (or Take) the Right Photo
AI staging can only be as good as the photo you give it. The ideal starting photo is bright, sharp, level, and taken in landscape orientation from a corner or doorway at about chest height, so it shows as much of the room as possible.
- Turn on every light and open the blinds for even, natural light.
- Keep the camera level so walls are straight; tilted photos are harder to stage.
- Avoid extreme wide-angle shots, which stretch the edges of the room.
- Clear clutter such as boxes, tools, and cleaning supplies.
Our full guide to photographing empty rooms covers settings and angles in detail.
Step 2: Upload Your Photo
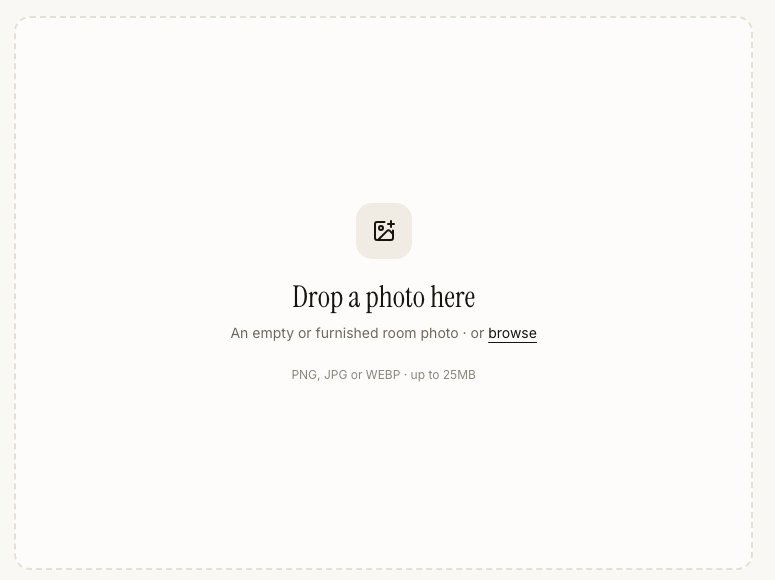
Sign in to AI Virtual Staging with your Google account and open the Virtual Staging tool. Drag your photo onto the upload area, or click to browse. You can use JPG, PNG, or WEBP files up to 25MB.
Step 3: Pick the Room Type and Interior Style
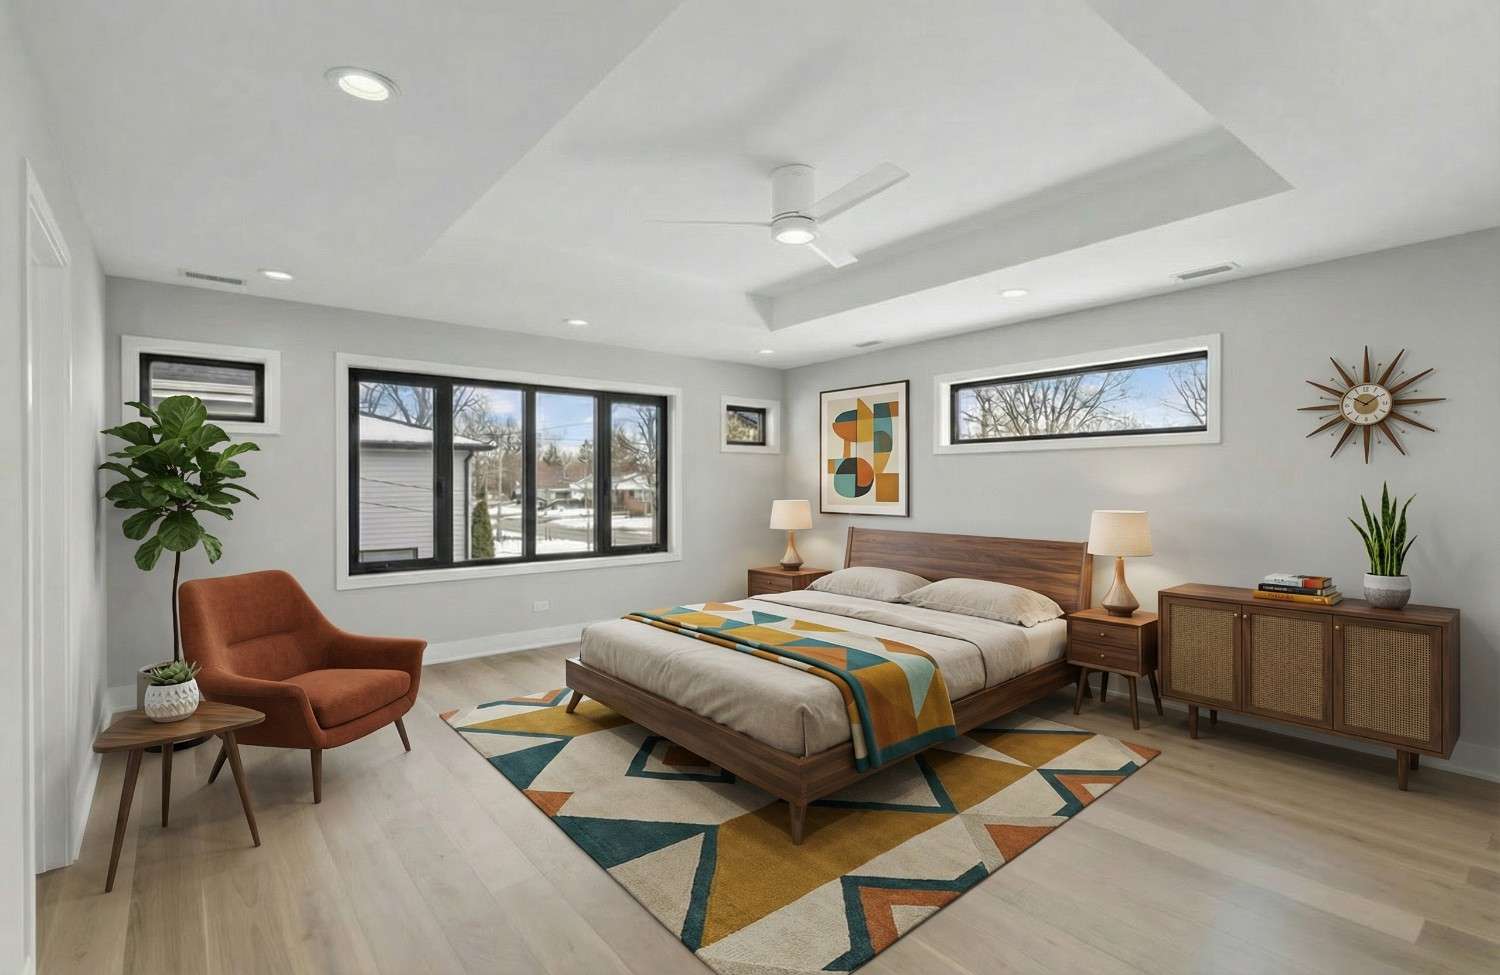
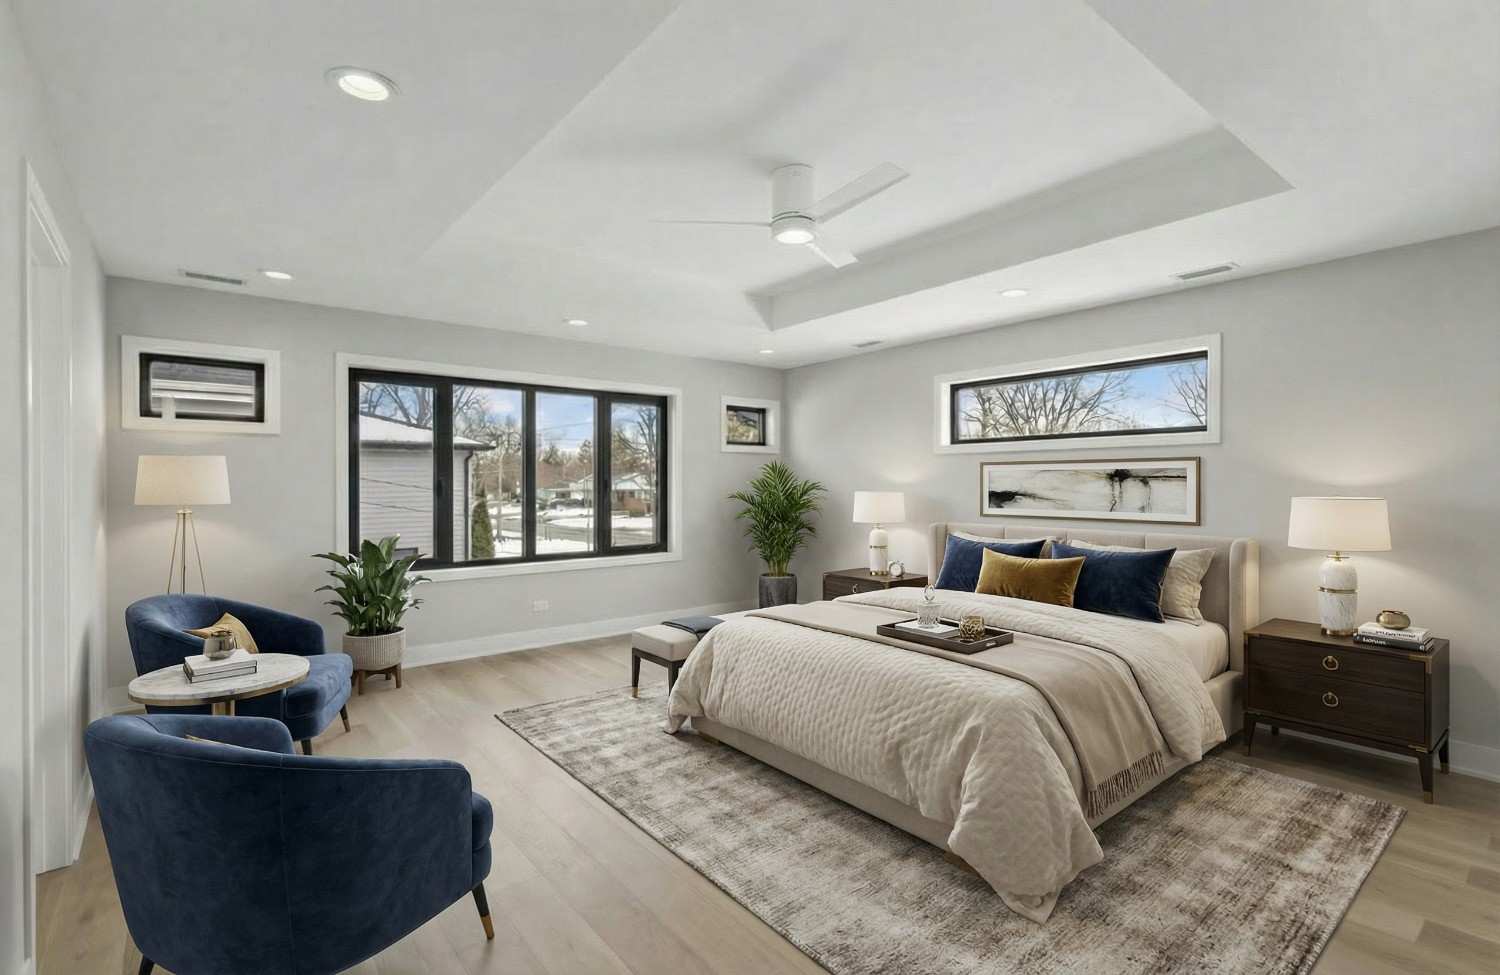
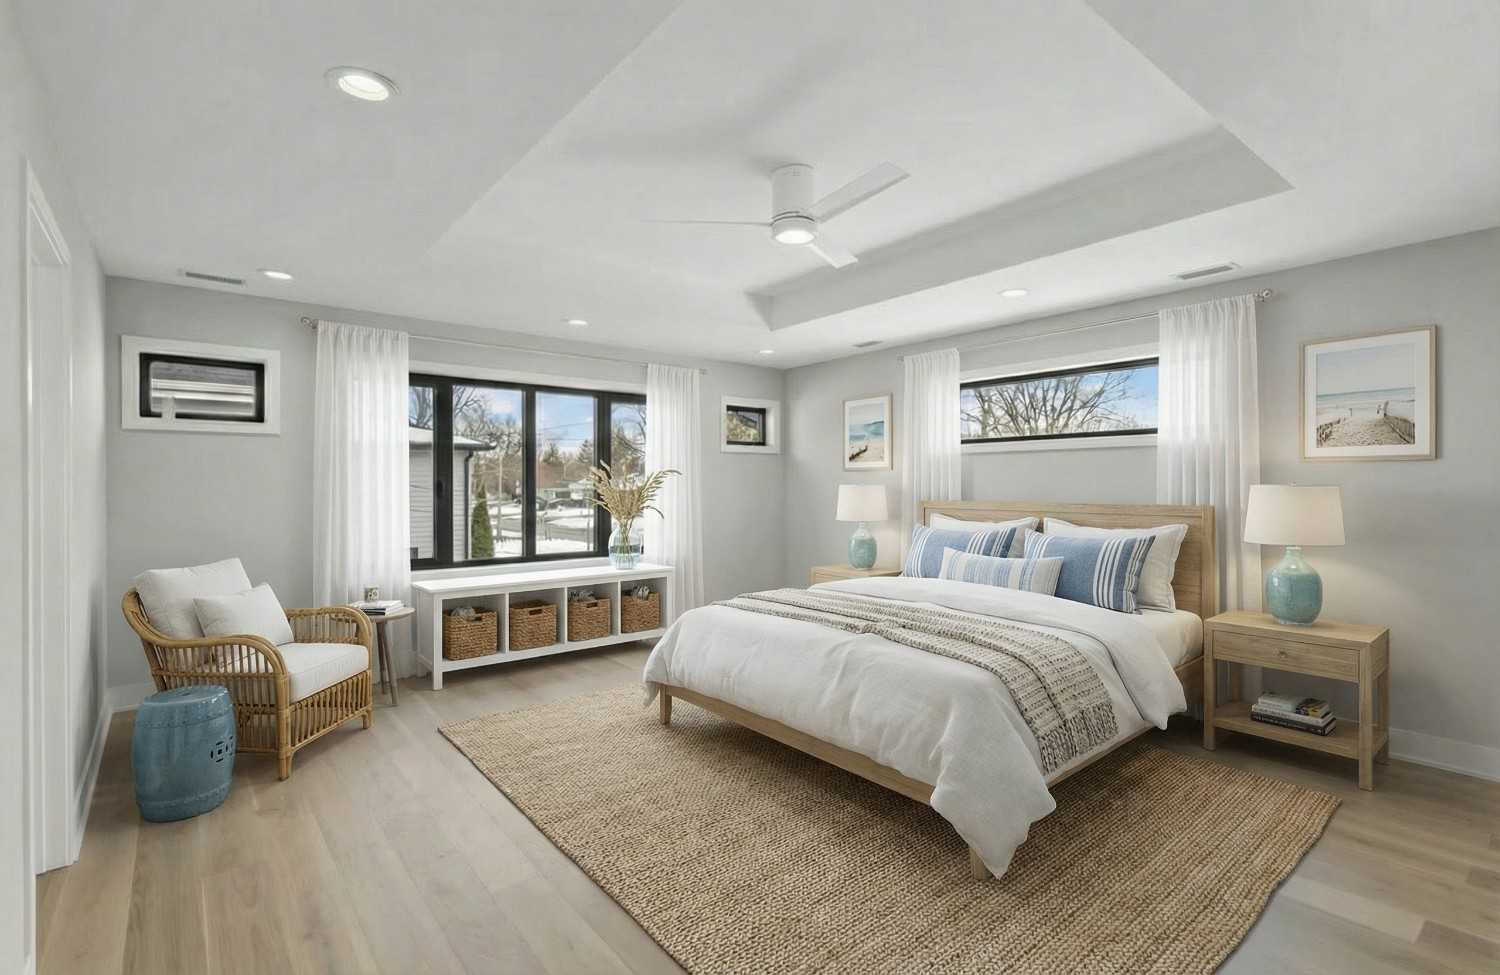
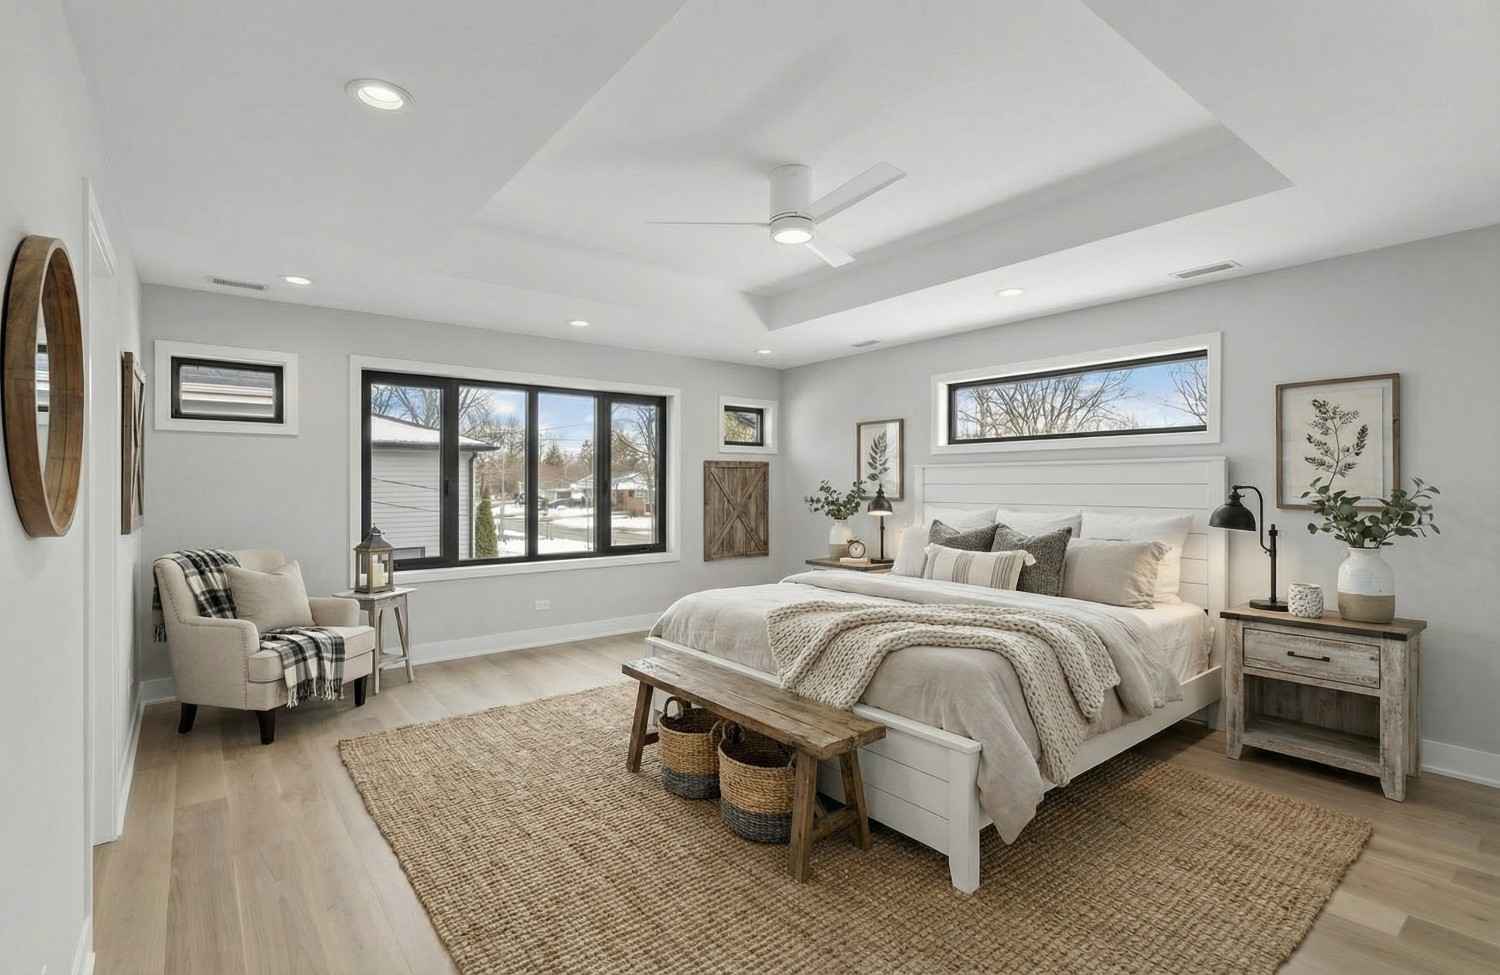
Tell the AI what kind of room it is: bedroom, living room, kitchen, bathroom, home office, dining room, kids' room, outdoor, or a custom room type. Then choose one of nine interior styles: Standard, Modern, Scandinavian, Contemporary, Mid-century, Japandi, Luxury, Coastal, or Farmhouse.
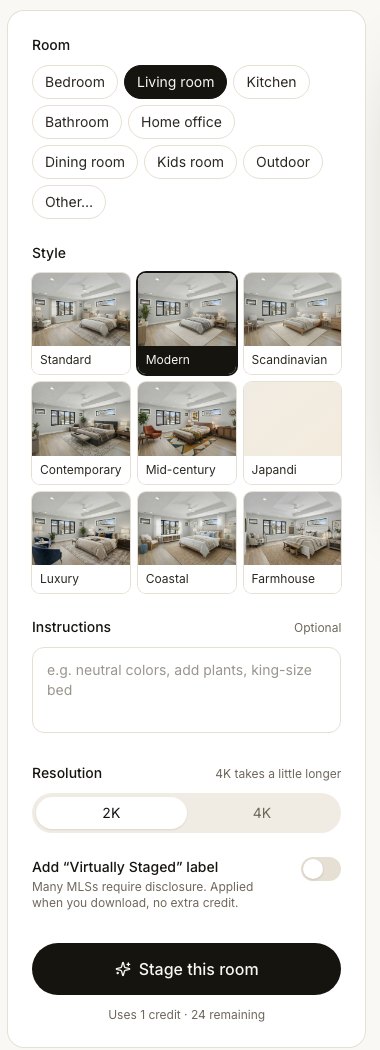
Choose the style for the home and its likely buyers, not your own taste. Modern and Scandinavian suit most contemporary homes; Farmhouse and Coastal suit homes with that character; Luxury suits high-end listings. See our furniture style guide for more.
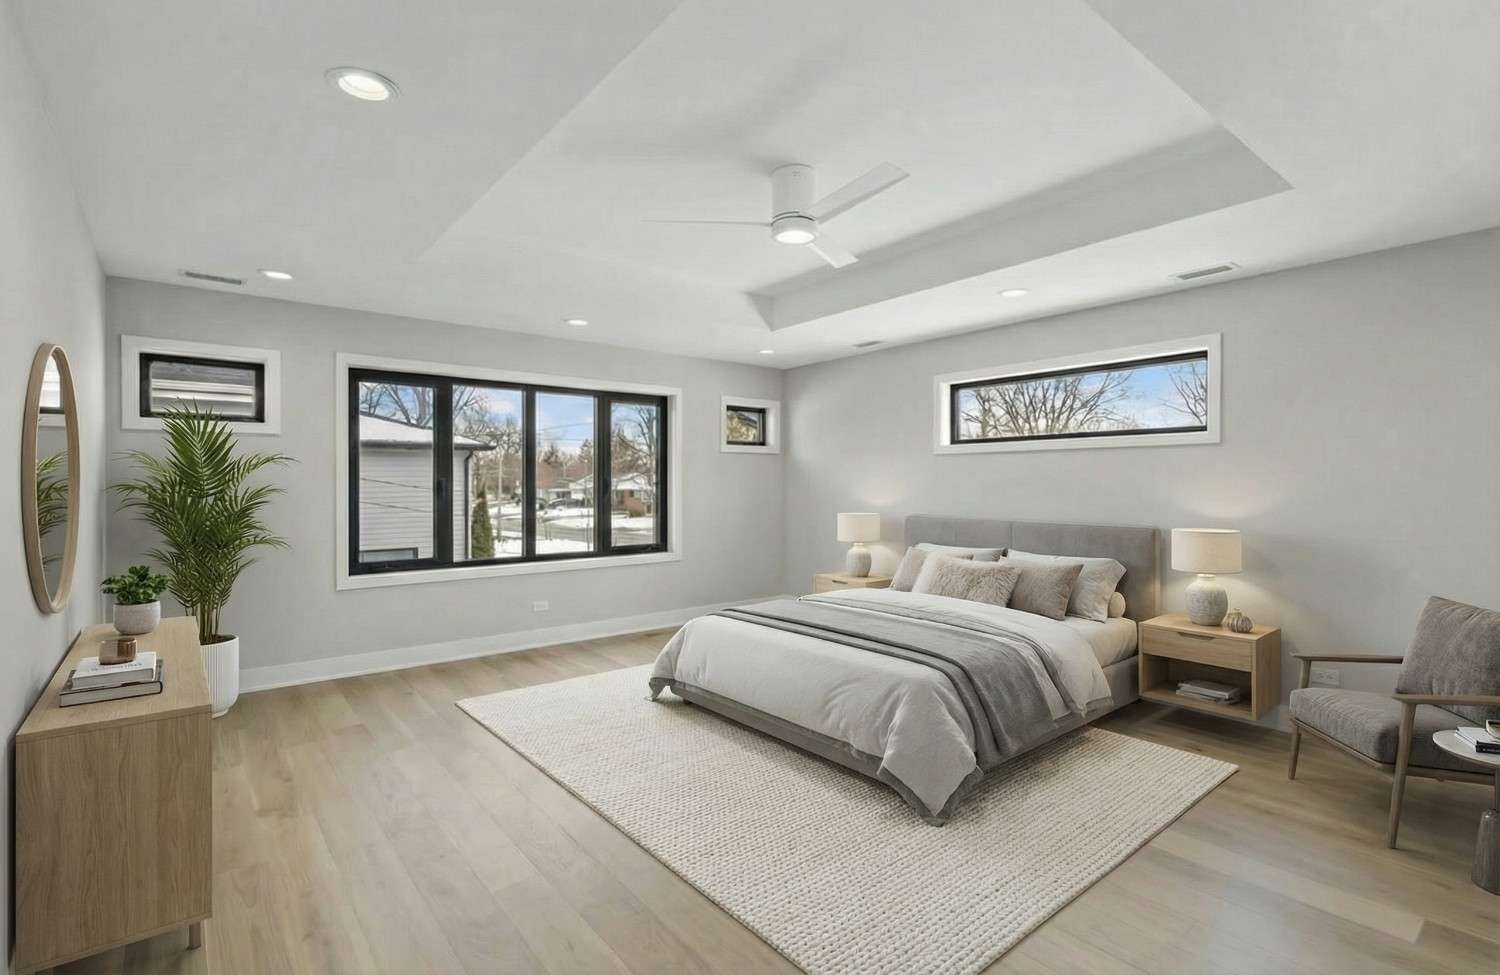
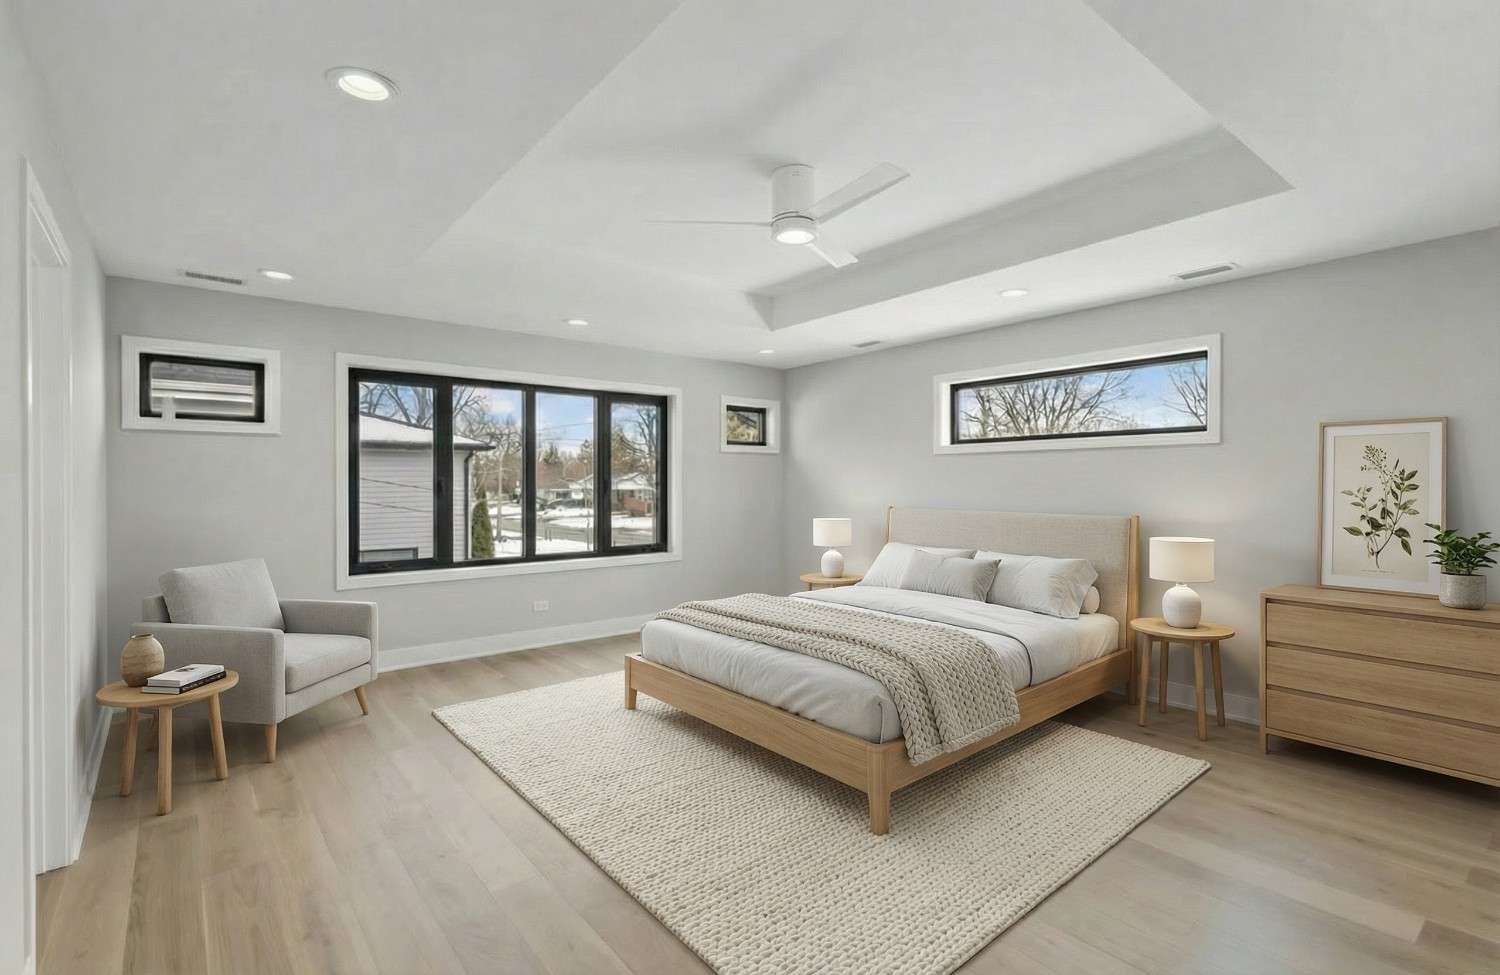
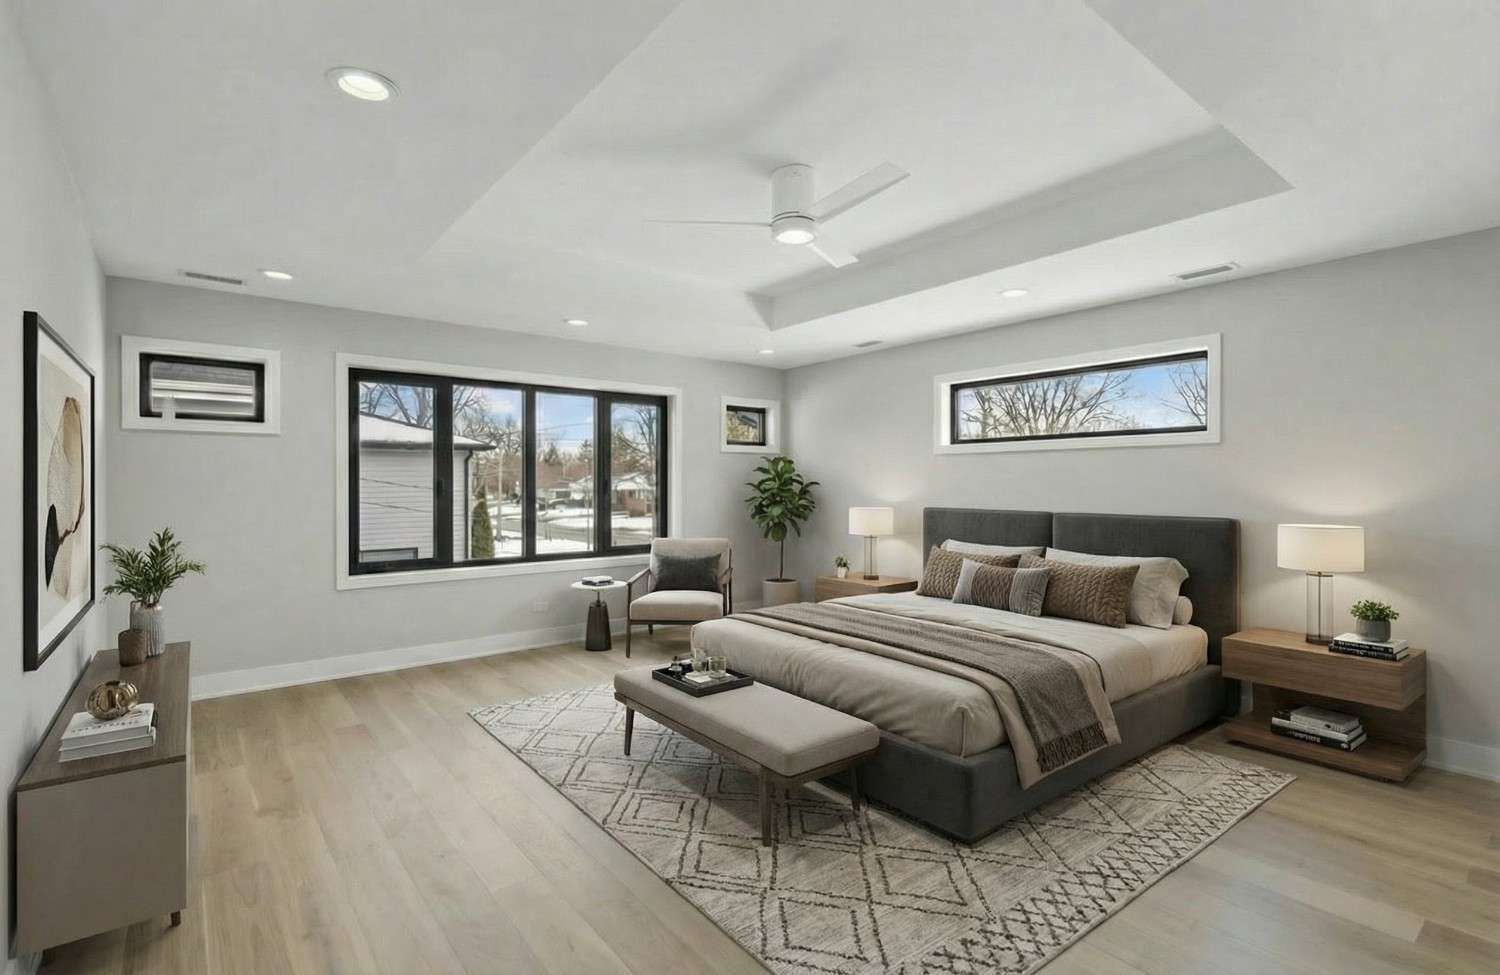
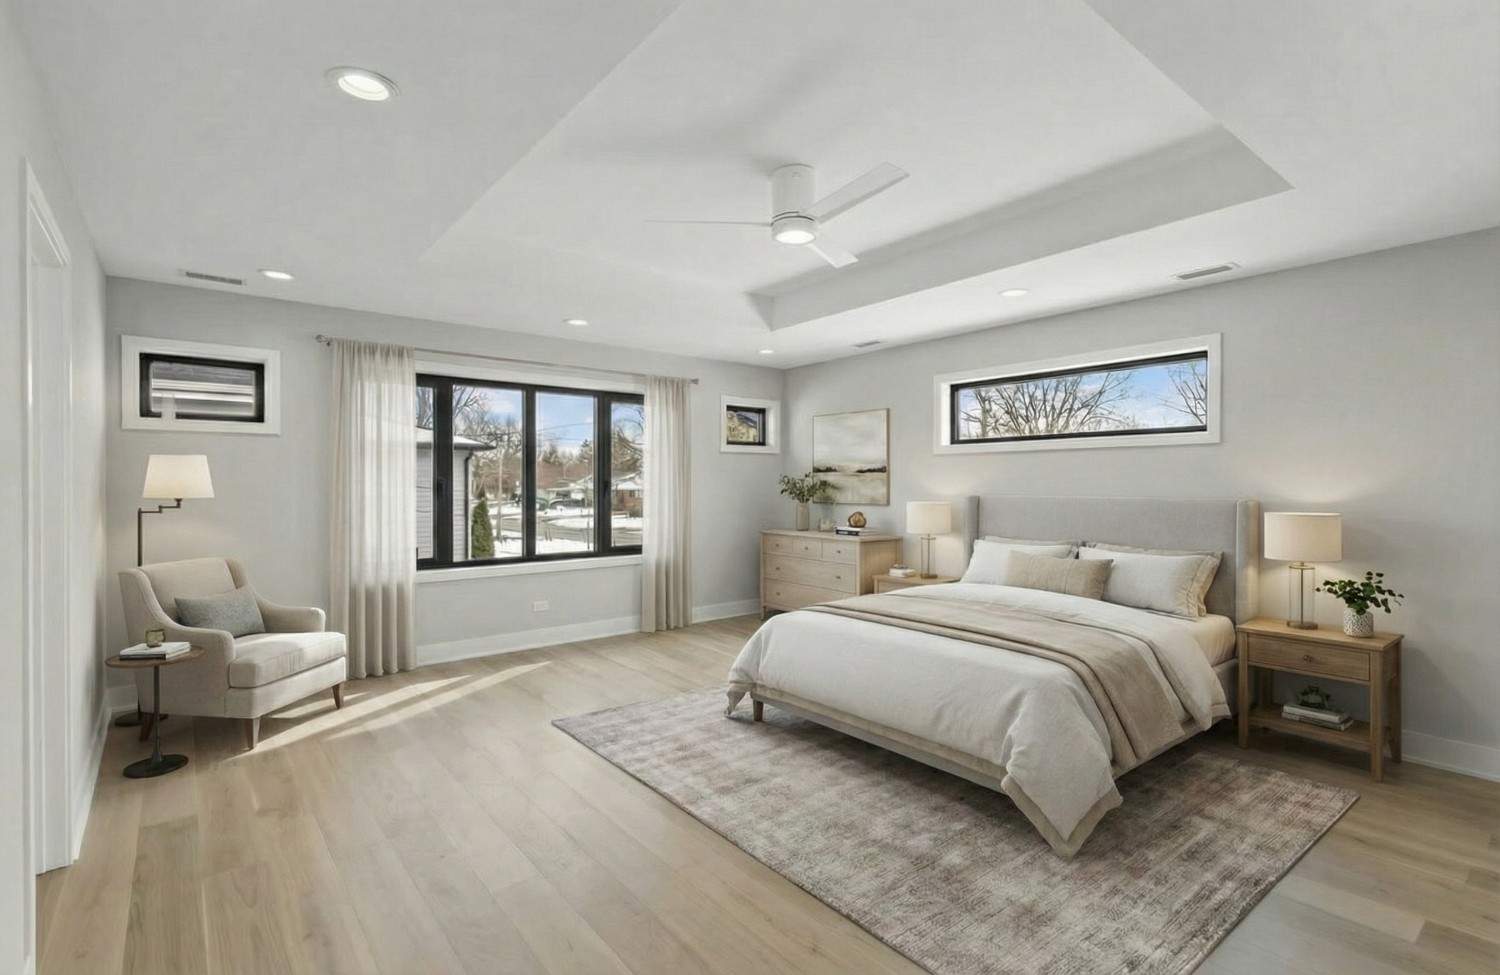
Step 4: Add Instructions (Optional)
Instructions let you steer the result. Be specific about furniture, colors, and layout, and keep them short. Here are examples you can copy and adapt:
Instructions guide the furniture and décor only. Don't ask the AI to change walls, windows, flooring, or room size: those edits would misrepresent the property, and the tool is designed to keep them as photographed.
Step 5: Choose the Resolution
Pick 2K for most listings; it's plenty for MLS portals and social media. Choose 4K for print brochures, large displays, or if you want extra detail. 4K takes a little longer to generate.
Step 6: Generate and Review the Result
Click Stage this room. In about 20 seconds you'll see the result next to your original photo, with a slider to compare them. Each generation uses one credit.
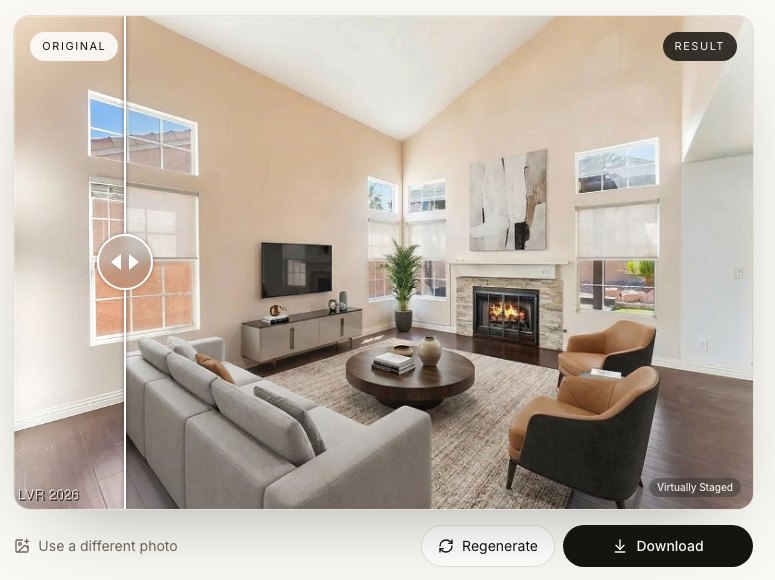
Before you download, check five things:
- The room is unchanged. Walls, windows, doors, flooring, and the camera angle should match the original.
- The scale is right. Furniture should fit the room with space to walk around it.
- The light makes sense. Shadows should fall in the same direction as the window light.
- It fits the home. The style should suit the architecture and price point.
- No odd details. Look for warped objects, floating items, or blurry patches.
If something's off, click Regenerate for a new version (one more credit), or adjust your instructions first. The troubleshooting table below covers the most common fixes.
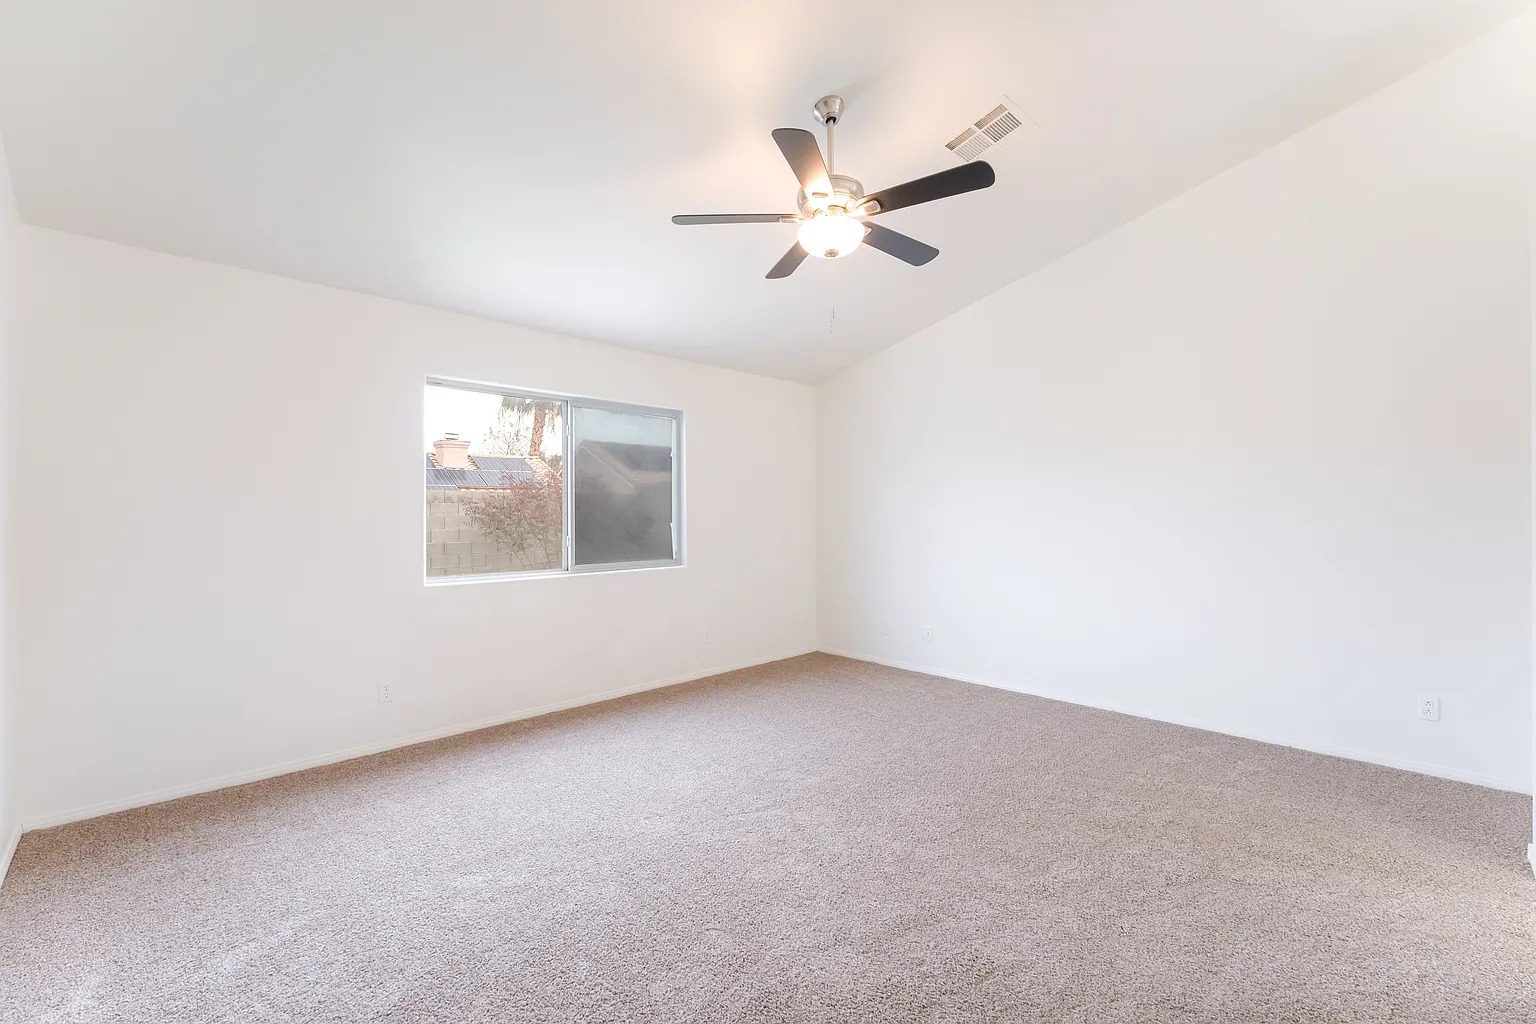
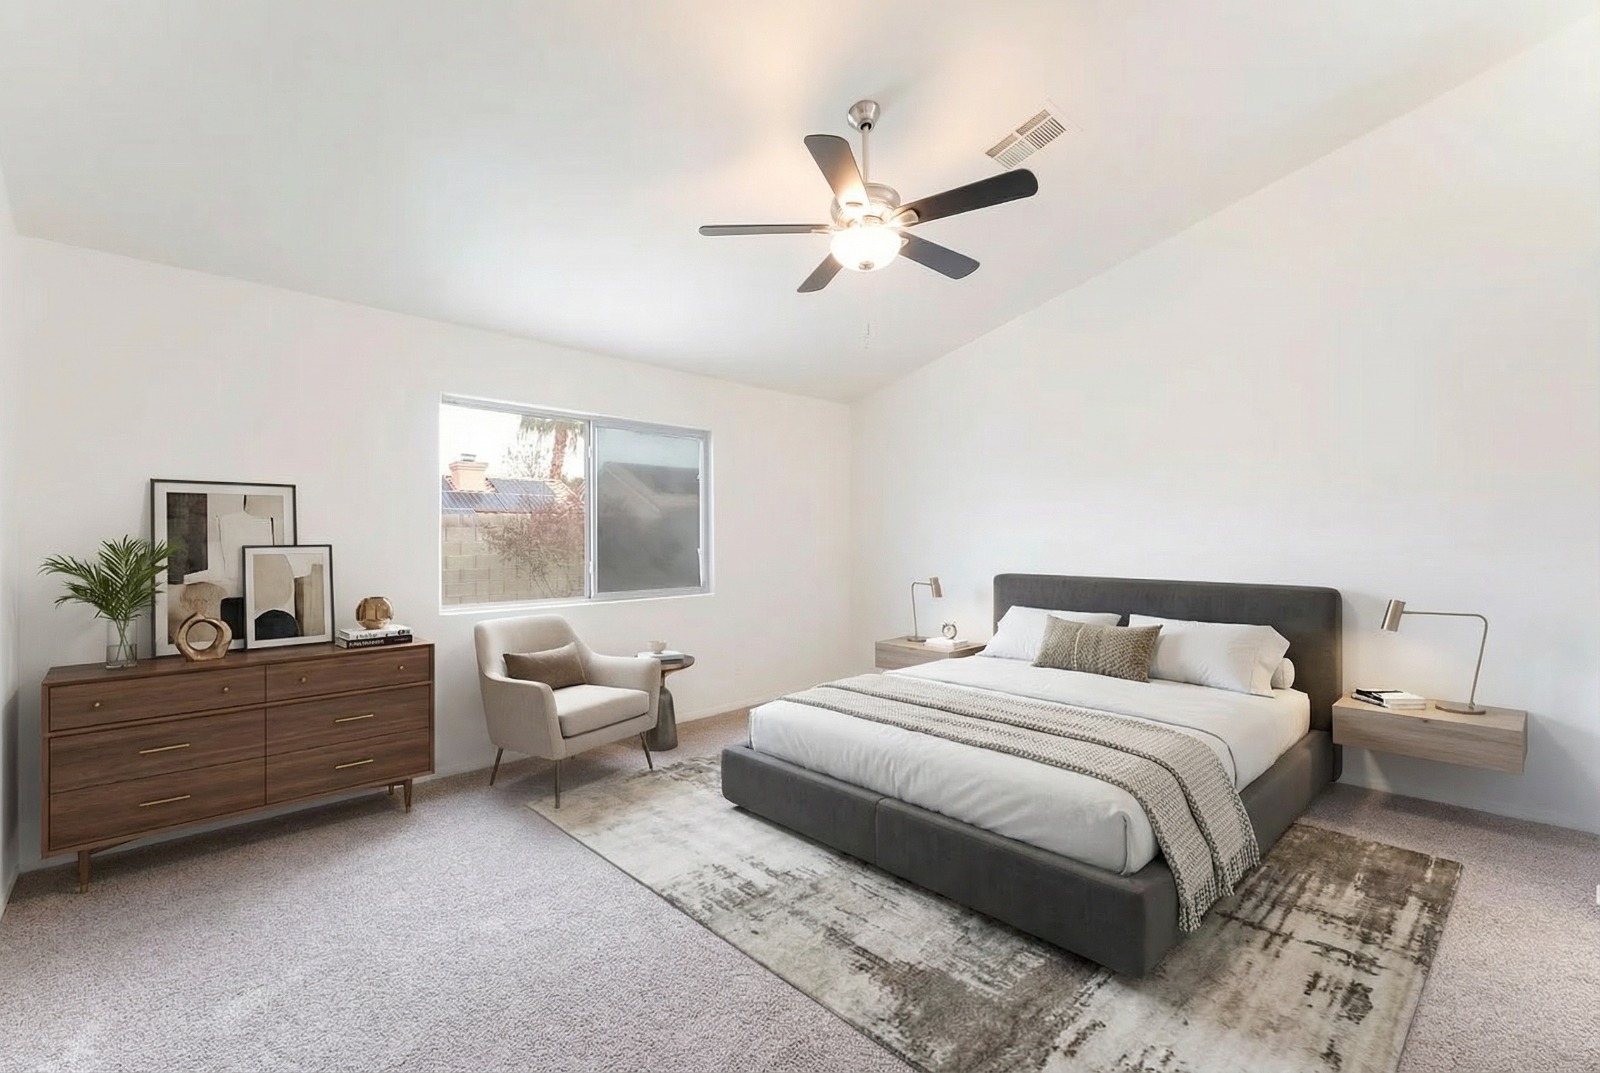
Step 7: Add the “Virtually Staged” Label and Download
Many MLSs and some states require you to disclose virtually staged photos. Turn on the Add “Virtually Staged” label switch to place a small, legible label in the corner of your download. It's applied when you download, at no extra credit, so you can download both labeled and unlabeled versions.
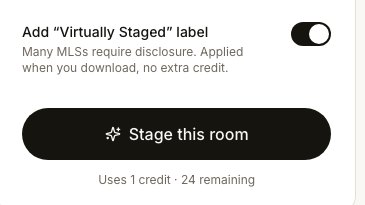
Then click Download to save the high-resolution JPG.
Step 8: Disclose It in Your Listing
The label covers the photo itself. Also mention the staged rooms in your listing remarks, note it on social posts and flyers that reuse the photo, and keep the original photo available. In California, AB 723 also requires a link to the original, unaltered image. Our disclosure templates give you copy-and-paste wording for every channel.
Room-by-Room Tips
Different rooms need different things to look right. Start with the living room, primary bedroom, and kitchen, the rooms buyers' agents rank as most important to stage in NAR's 2025 Profile of Home Staging.
| Room | What to show | Example instruction |
|---|---|---|
| Living room | Seating around a focal point (fireplace, view, or TV wall), a rug that anchors the space | “Sectional facing the fireplace, round coffee table” |
| Primary bedroom | A bed sized to the room, nightstands, and visible floor space | “Queen bed with two nightstands, leave space to walk” |
| Kitchen | Stools at the island, a table in an eat-in area, light counter styling | “Three bar stools at the island, a fruit bowl” |
| Dining room | A table that fits with space to pull out chairs | “Table for six, simple centerpiece” |
| Home office | A desk, chair, and storage that make the room's use obvious | “Desk under the window, bookshelf” |
| Outdoor | Seating or dining that shows the space is usable | “Outdoor dining set and potted plants” |
Troubleshooting: Common Problems and Fixes
What If the Room Is Still Furnished?
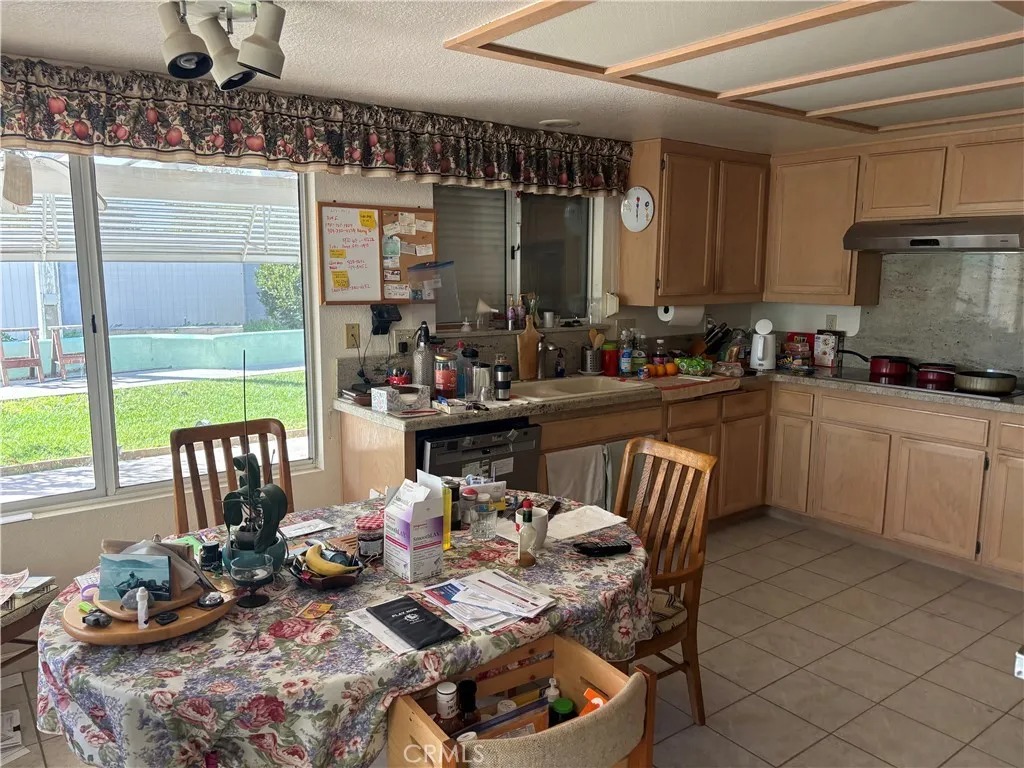
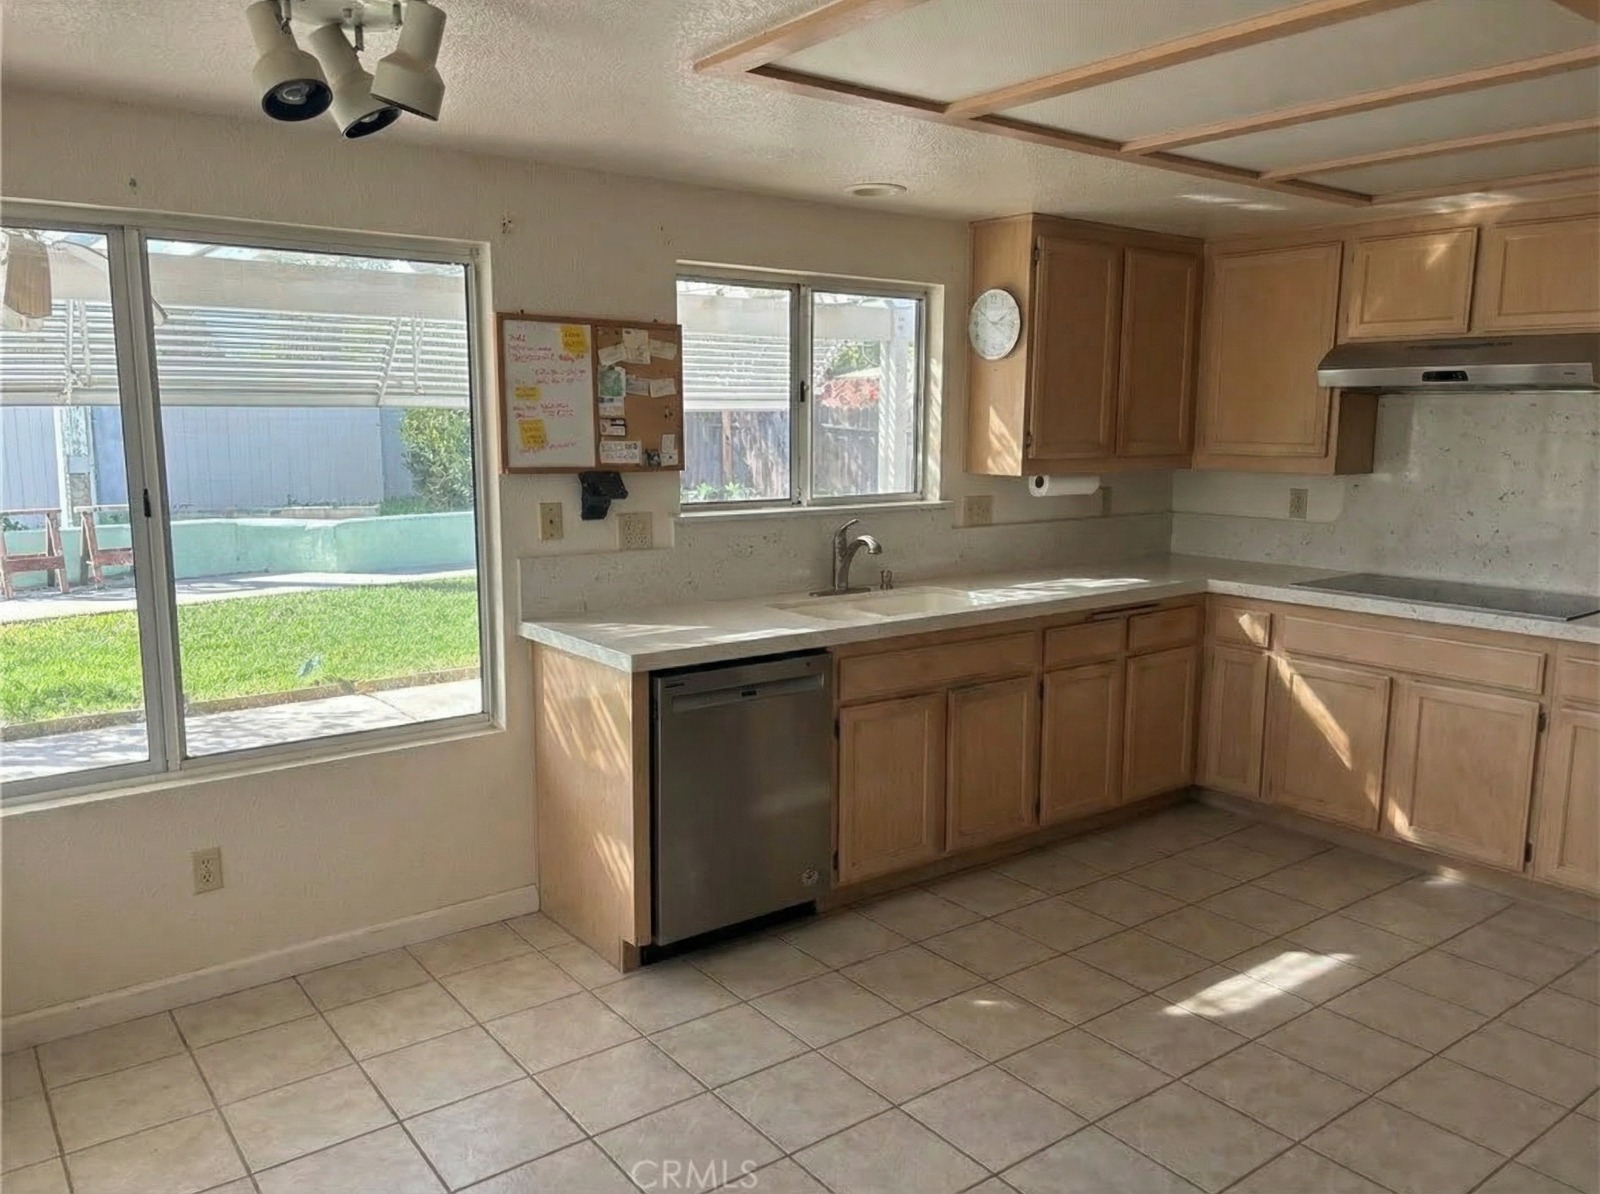
Virtual staging works best on empty rooms. If the room still has old furniture or a seller's belongings, clear it first with AI furniture removal, then stage the empty result. Each step uses one credit, and both results should be disclosed.
Start Staging
That's the whole process: a good photo, the right room type and style, a quick review, a label, and a line in your listing. Your first image is free, so try it on your own listing photo and see the result in about 20 seconds.